Plenty of hardwood jobs in older homes are neither a whole new floor nor a straightforward refinish. They sit in between: a gap to fill, a room to add, a footprint to cover. A remodel takes out a wall and leaves a strip of bare subfloor across the living room. A kitchen island moves and leaves a rectangle with no wood under it. A carpeted bedroom sits next to a hallway of original oak, and the owner wants one continuous floor.
Done well, hardwood floor patch repair and extensions disappear. Done badly, you can see the line from the front door. Here is what decides which one you get.
Where These Jobs Come From
- Walls removed to open a floor plan. The floor usually stops at the old wall on both sides, leaving a gap where the bottom plate sat.
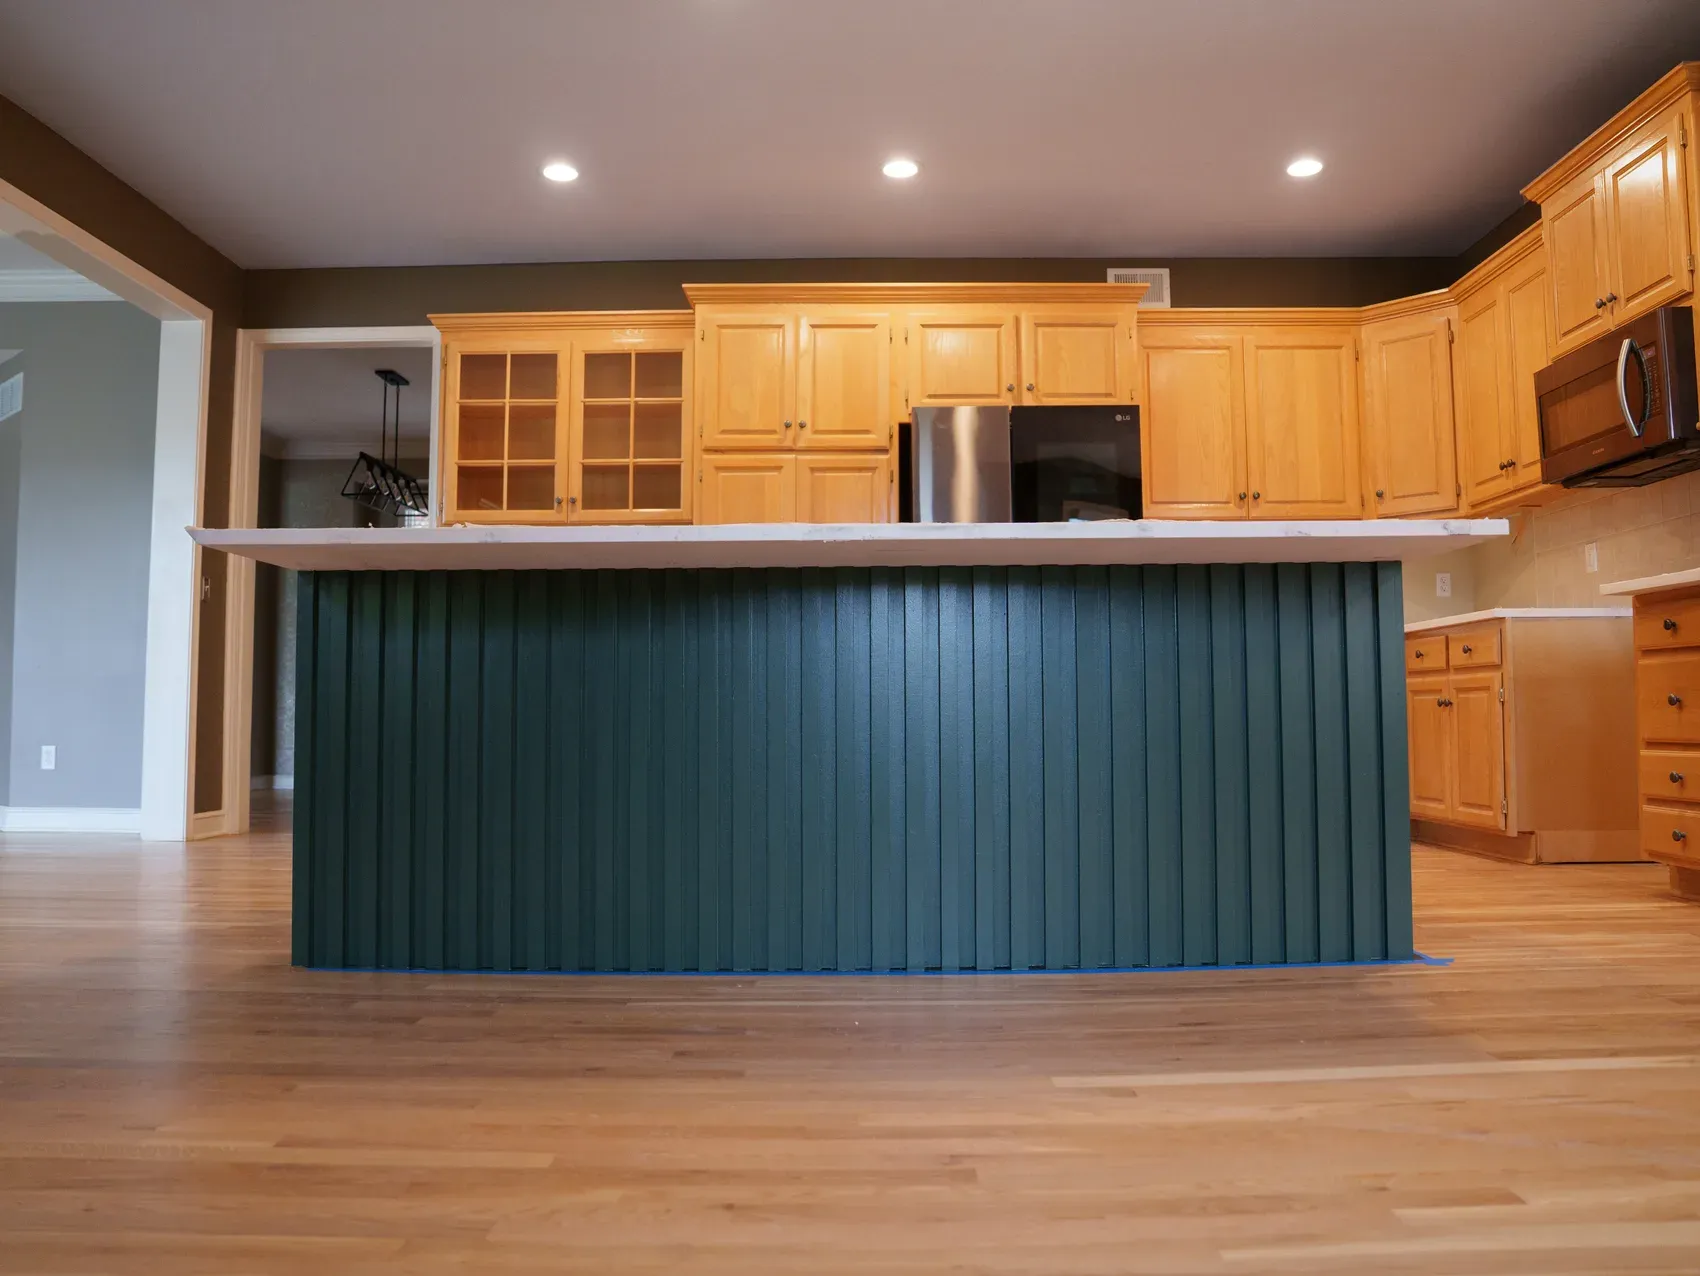
- Kitchen remodels. Cabinets and islands that move leave footprints. In some houses the original floor runs under the old cabinets, and in many it stops at them. Our kitchen remodeling work runs into this constantly, and the Prairie Village guide covers the most common version, running original oak into a kitchen that never had it.
- Carpeted rooms beside hardwood. Pulling carpet in one room and extending the adjoining floor into it, rather than starting a second, different floor.
- Old registers, radiators and floor furnaces. Anything removed from the floor leaves a hole that needs boards woven back in.
- Damage. Boards lost to a leak, a pet stain or a burn, which we cover in more depth in wood floor repair.
Step One: Identify Exactly What Is Down There
A patch can only disappear if the new wood is the same wood. That means matching four things.
Species. Most original floors here are red oak, with white oak close behind. They look similar under an old finish but take stain differently. One reliable test is the end grain at a floor vent: red oak has open pores, while white oak's pores are plugged. Our oak floors page covers the differences.
Width. Two and a quarter inch strip is the most common width in older Kansas City homes, but narrower strip and less common widths turn up. Being slightly off in width shows across a room, because every board in the patch compounds it.
Thickness. Three quarter inch is the standard, but some older homes have thinner strip flooring, and a floor that has been sanded several times has lost some of its thickness. New boards have to finish flush with the old surface.
Grade. An old floor with clean, tight grain looks wrong with a patch of knotty boards in it, and the reverse is true too. The new material has to carry the same character as the old.
When a width or thickness is no longer made, boards can be milled to match, or original boards can be borrowed from somewhere less visible in the same house, such as a closet, with new material used there instead.
Step Two: Lace It In, Do Not Butt It Up
This is the part that separates a patch you can find from one you cannot.
The shortcut is to fill the gap with new boards cut square along a straight line. Every end joint then lines up along the edge of the patch, and that straight seam is exactly what the eye picks out across a room, no matter how good the color match is.
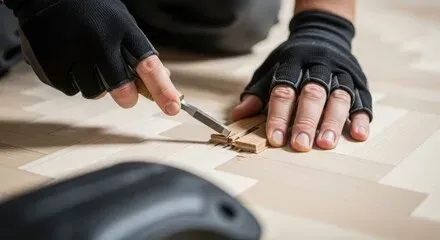
The right way is to lace, or weave, the new boards in. Existing boards along the edge are taken up at staggered lengths so the old floor ends in a ragged line, and new boards are fitted into those openings with their ends staggered the way the original installer staggered them. There is no straight edge left for the eye to find. It takes longer and means taking up sound boards, and it is the only way an extension truly reads as one floor.
Board direction matters too. Where a wall came out between two rooms whose floors run the same way, lacing is straightforward. Where they run at right angles, the usual answer is a deliberate header board or a change of direction at the old wall line, which looks intentional rather than patched.
Step Three: Get the Subfloor Right First
A removed wall often leaves a gap in the subfloor where the plate sat, and a removed cabinet can leave the subfloor at a different height from the rest of the room. Those get filled, leveled and fastened before any wood goes down, or the patch will sit high, sit low or squeak. Taking things apart is also when hidden problems like old water damage show up, which we cover in flooring removal.
Step Four: Sand and Finish It All Together
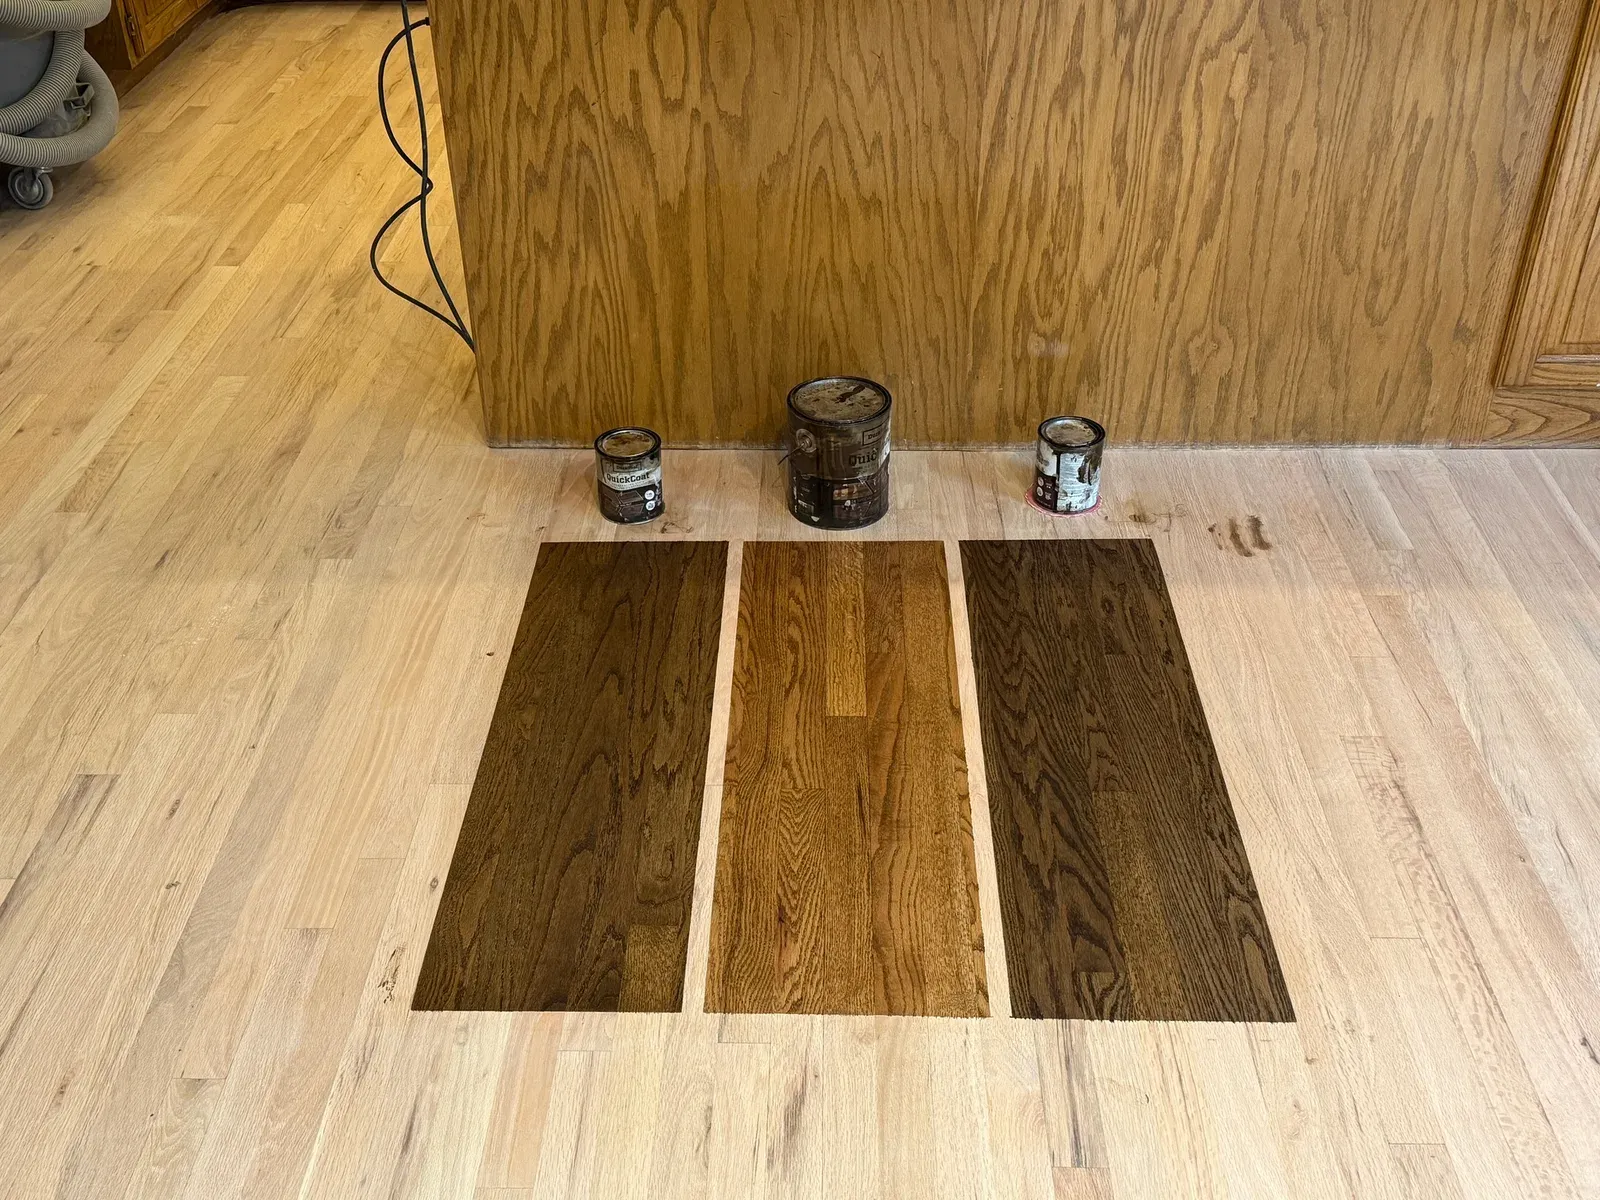
Here is the part people hope to skip. New wood will not match old wood out of the box, even in the same species, width and grade. The old floor has aged and ambered under its finish for decades, and brand new boards are pale by comparison.
The reliable way to make a patch vanish is to install the new boards, then sand the whole connected area to bare wood and stain and finish it as one surface. Everything gets the same color and the same finish, and there is no boundary between old and new left to see. Our stain color guide covers why old and new wood take color differently.
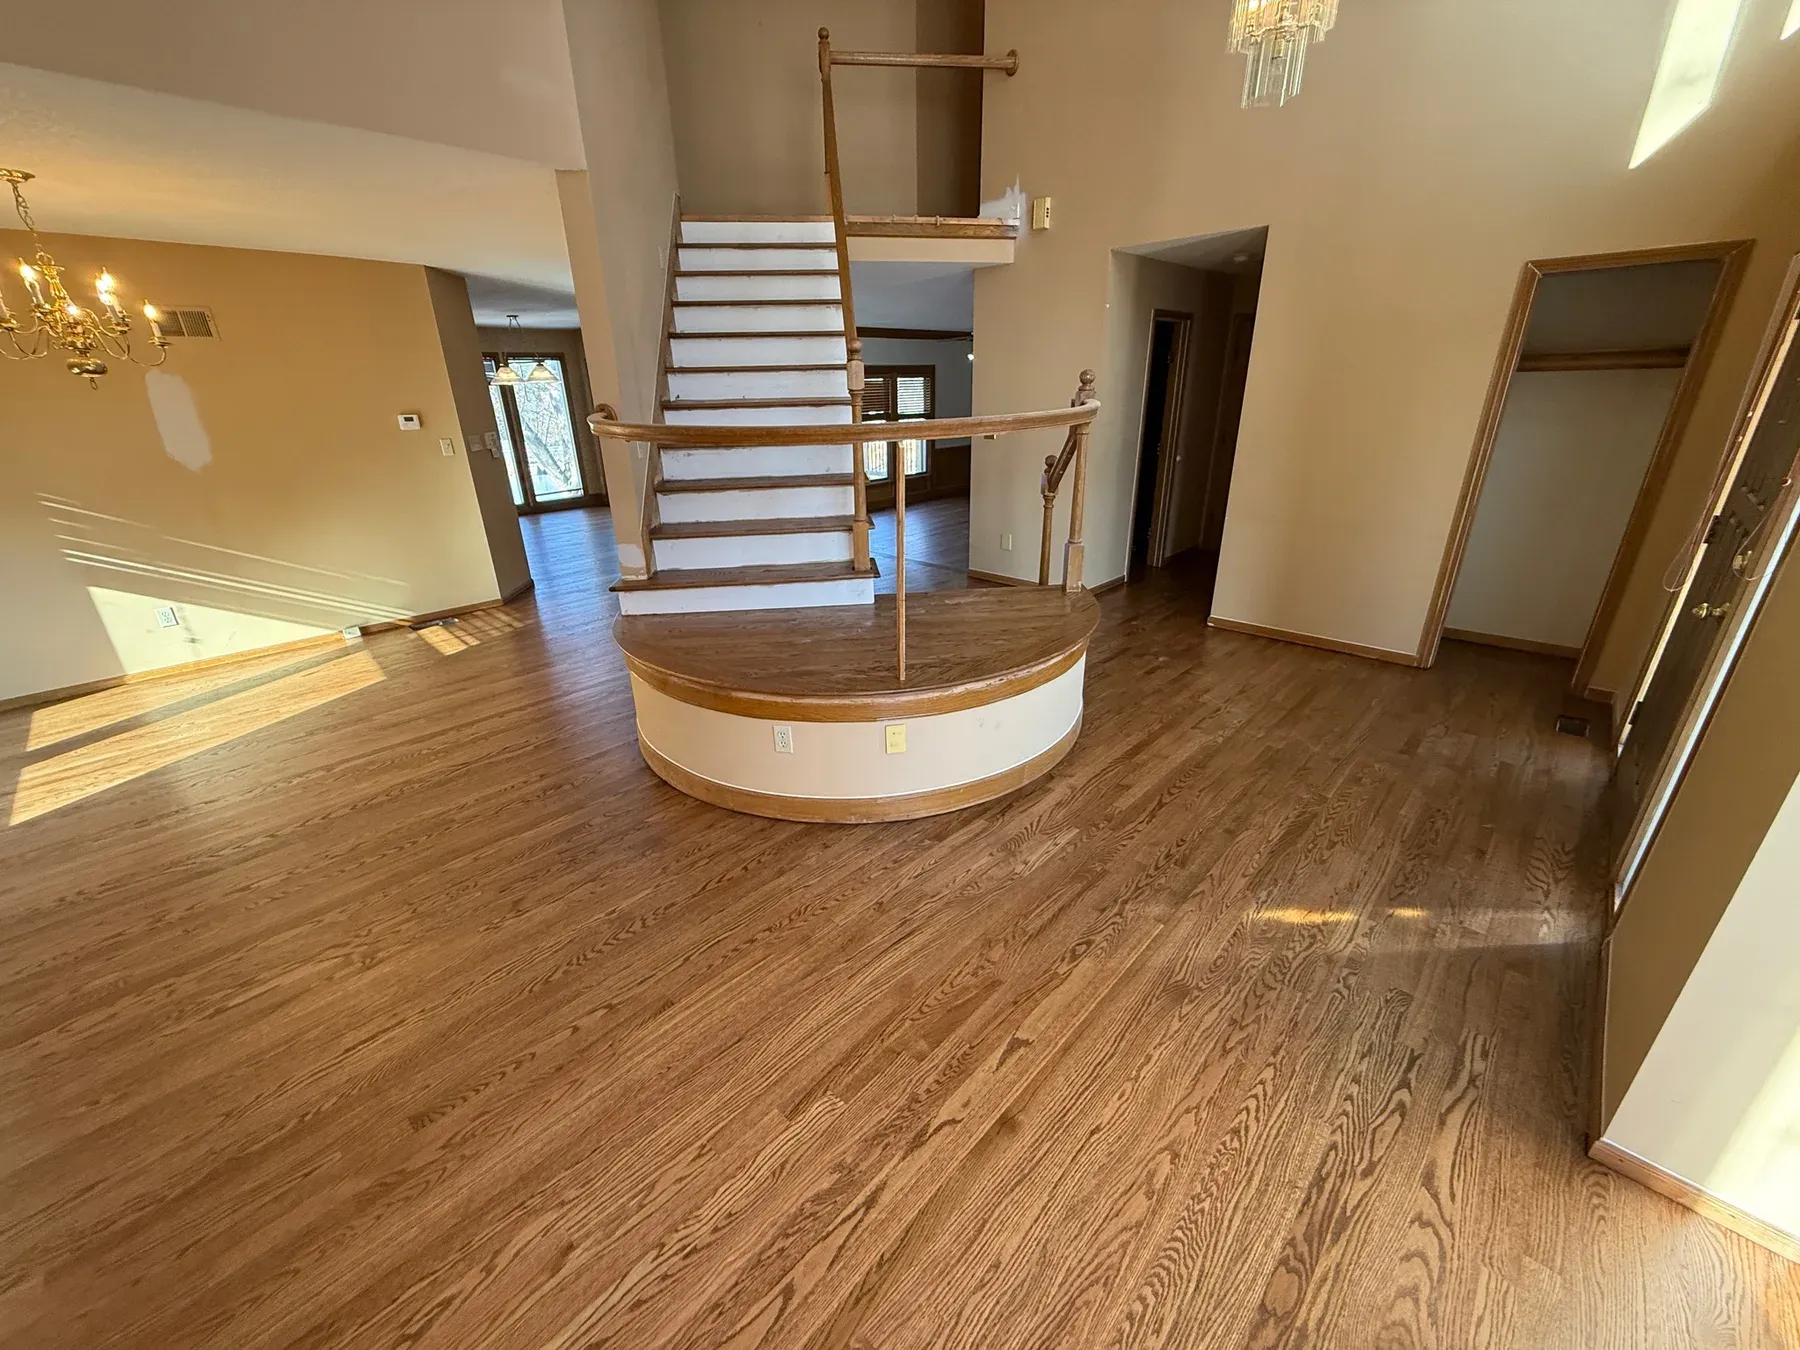
Where does the connected area stop? At a natural break, usually a doorway or a change of flooring. A patch in the middle of a living room means refinishing the living room. It rarely means refinishing the whole house, although a main floor that runs continuously with no breaks has to be finished as one run.
Finishing just the new boards and trying to blend them into the old finish almost never works in a visible spot, because sheen and color both show the edge. It is the same blending problem that decides spot repairs, covered in hardwood floor scratch repair.
When a Perfect Match Is Not Possible
Solid hardwood can almost always be matched, because it can be sanded and finished together. Prefinished and engineered floors are harder. If the product has been discontinued, finding boards with the same color, bevel and wear layer can be impossible, and a thin engineered wear layer may not allow sanding everything to one surface. In those cases the honest options are borrowing boards from a closet or a less visible room, running a deliberate transition at a doorway, or replacing the floor across the connected area.
We would rather tell you that at the estimate than lay a patch that looks like a patch.
Getting It Done
If the work is part of a remodel, bring the flooring contractor in before the wall comes down or the cabinets go in. Decisions about where the floor runs, where it stops and what goes under the island are much easier made early. Extending an original floor is also one of the most common jobs on a custom hardwood floor.
Our hardwood floor repair service covers patches and lace-ins, our installation service covers extending a floor into new rooms, and our refinishing service covers the part that makes both disappear. We do this work across the metro, including the older homes in Kansas City, Mission Hills and Overland Park. Get a free estimate and we will tell you how close a match your floor will allow.
Get a Free Estimate
Have a floor you want looked at? We give honest, no-pressure estimates across the Kansas City metro.